<<
トッ
プページへ
■概要
CentOS6.5でvnc server を試してみました。CentOS5とは勝手が違いました。
結論から言うとTigerVNCのサーバーとビュワーだけでは環境が実現出来ません。X11VNC Server と TigerVNC
Viewer の組み合わせでOKでした。
(※注意 管理を怠るとPCを乗っ取られます。)
■
インストール
tigervnc-1.1.0-8.el6_5.i686
tigervnc-server-module-1.1.0-8.el6_5.i686
tigervnc-server-applet-1.1.0-8.el6_5.noarch
tigervnc-server-1.1.0-8.el6_5.i686
# yum install tigervnc-*
x11vnc-javaviewers-0.9.13-8.el6.noarch
x11vnc-0.9.13-8.el6.i686
# yum install --enablerepo=epel x11vnc-*
■
設定
1./etc/sysconfig/vncserversに下のように追記する。
「rootユーザのデスクトップを画面番号1として1024x768の解像度で公開する。」と言う意味になります。
# vi /etc/sysconfig/vncservers
# The VNCSERVERS variable is a list of display:user pairs.
#
# Uncomment the lines below to start a VNC server on display :2
# as my 'myusername' (adjust this to your own). You will also
# need to set a VNC password; run 'man vncpasswd' to see how
# to do that.
#
# DO NOT RUN THIS SERVICE if your local area network is
# untrusted! For a secure way of using VNC, see this URL:
# http://kbase.redhat.com/faq/docs/DOC-7028
# Use "-nolisten tcp" to prevent X connections to your VNC server via
TCP.
# Use "-localhost" to prevent remote VNC clients connecting except when
# doing so through a secure tunnel. See the "-via" option in the
# `man vncviewer' manual page.
# VNCSERVERS="2:myusername"
# VNCSERVERARGS[2]="-geometry 800x600 -nolisten tcp -localhost"
VNCSERVERS="1:hoge 2:root"
VNCSERVERARGS[1]="-geometry 1600x1200 -nolisten tcp"
2.vncでログインするときの
パスワードを設定します。
# vncpasswd
Password: (パスワードを打ち込む)
Verify: (再度打ち込む)
とやると、.vncと言うディレクトリが作成されます。次にxstartupというファイルを作成します。
$ cd
$ cd .vnc
$ vi xstartup
通常の設定では以下の様にします。
#!/bin/sh
# Uncomment the following two lines for normal desktop:
# unset SESSION_MANAGER
# exec /etc/X11/xinit/xinitrc
[ -x /etc/vnc/xstartup ] && exec /etc/vnc/xstartup
[ -r $HOME/.Xresources ] && xrdb $HOME/.Xresources
export LANG=ja_JP.ujis
xsetroot -solid grey
vncconfig -iconic &
xterm -geometry 80x24+10+10 -ls -title "$VNCDESKTOP Desktop" &
export GTK_IM_MODULE=scim
gnome-session &
exec gnome-session &
# chmod 755 xstartup
vnc上でatokを使用する場合は以下の様にします。
$ vi xstartup
#!/bin/sh
# Uncomment the following two lines for normal desktop:
# unset SESSION_MANAGER
# exec /etc/X11/xinit/xinitrc
[ -x /etc/vnc/xstartup ] && exec /etc/vnc/xstartup
[ -r $HOME/.Xresources ] && xrdb $HOME/.Xresources
export LANG=ja_JP.ujis
xsetroot -solid grey
vncconfig -iconic &
xterm -geometry 80x24+10+10 -ls -title "$VNCDESKTOP Desktop" &
export XMODIFIERS="@im=htt"
export HTT_DISABLE_STATUS_WINDOW=t
export HTT_GENERATES_KANAKEY=t
export HTT_USES_LINUX_XKEYSYM=t
export GTK_IM_MODULE=iiim
/usr/lib/im/httx -if atokx2 -xim htt_xbe &
#twm &
exec gnome-session &
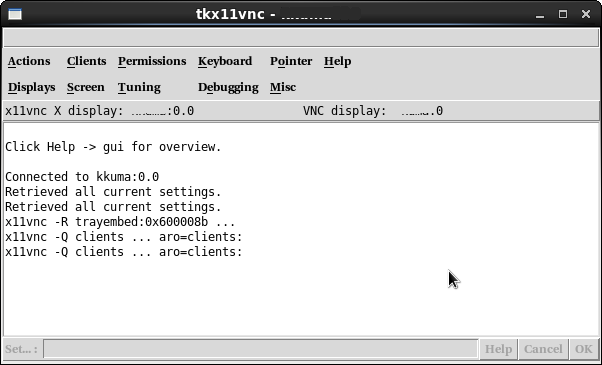
3.[アプリケーション][インターネット][X11VNC Server][OK]
[Advanced...] permission(パーミッション)の設定で操作したい部分を許可する
■使用方法
接続先のIPアドレスと画面番号をコロン(:)で分けて指定すれば
(例:192.168.0.5:1)がvncpasswdで設定し
たパスワードを聞いてくるので入力すれば日本語のデスクトップが表示されます。
サーバー側で端末を立てて
$ x11vnc -rfbport 5901
実行するとvncサーバーが起動します。
次に
クライアント側での例(最後の:1はディスプレイNo)
$ /usr/bin/vncviewer 192.168.0.5:1
外部からの操作を可能にするためにはルーターのポートを開放する必要があります。上記はポート5901番で待ち受ける場合です。
このポート番号 590X のXの部分は/etc/sysconfig/vncserversのユーザー番号と同じである事が必要です。